facebook ads by chatgpt

Creating Facebook Ad Creatives Using Canva + ChatGPT (Beginner Workflow)

If you want to run Facebook ads, you don’t always need a designer or a big budget. You just need a clear message and a clean design. In this guide facebook ads by chatgpt, I’ll show you a simple workflow to create eye-catching ad creatives using Canva and ChatGPT. This method is great for beginners, small business owners, and freelancers who want quick results without overthinking.


facebook ads by chatgpt & canva

Why Use Canva and ChatGPT Together?

  • Canva helps you design visuals easily, even if you have zero design skills.
  • ChatGPT helps you write short and powerful ad text quickly.

When you combine them, you get facebook ads by chatgpt good-looking ads + clear messaging in just a few minutes.


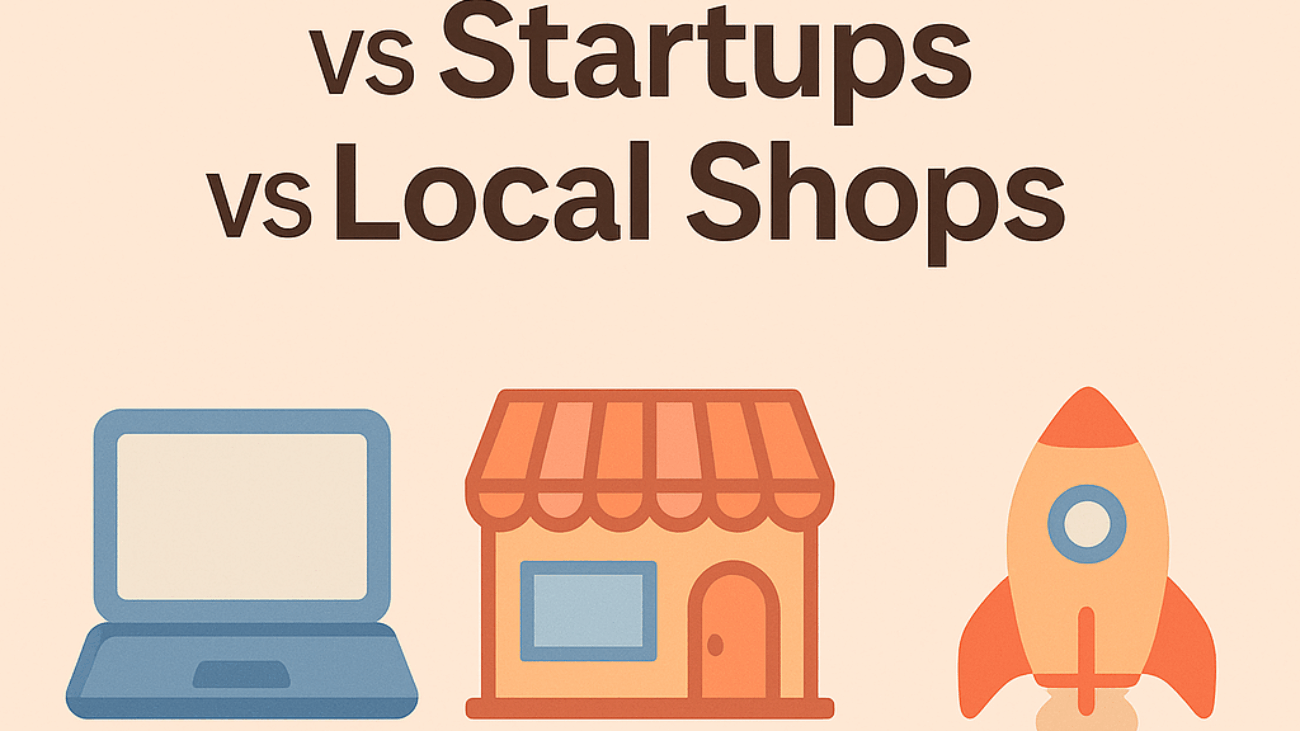
Step 1: Decide What You’re Selling

Before you create the ad, answer this one simple question:

What action do you want people to take after seeing your ad?

Examples:

  • Buy now
  • Book a call
  • Visit your website
  • Send a message on WhatsApp

If you don’t know this, your facebook ads by chatgpt  ad will look good but do nothing.

Keep the goal clear.


Step 2: Ask ChatGPT to Write the Ad Copy

Open ChatGPT and type something like:

“Write a short Facebook ad for my [product/service] that is friendly and easy to understand.”

Example output:

“Want more customers for your local business?
Try our digital marketing service and grow faster.
Message us to get a free strategy call today.”

Now your text is ready.

You can also ask ChatGPT for:

  • Headline options
  • Call-to-action lines
  • Benefit list
  • Different versions of the same ad

Copy the text you like.


Step 3: Open Canva and Choose a Template

  1. Go to canva.com
  2. Search “Facebook Ad”
  3. Select a template you like

Choose something simple.
Don’t use too many colors, fonts, or fancy effects.
Clean designs perform better.


Step 4: Customize The Creative

Replace the sample text with your facebook ads by chatgpt ad copy.

Change:

  • Colors to match your brand
  • Font to clear and readable (like Montserrat, Poppins, or Open Sans)
  • Image to something related to your product or message

If you don’t have good images, use Canva’s built-in image library. Just search your keyword in the image section.

Tip:
Use 1 clear image + 1 main headline + 1 short call to action.
Don’t overcrowd it.


Step 5: Export and Upload to Facebook Ads Manager

Click Download → JPG for better quality and smaller file size.

Then go to Meta Ads Manager and upload it while creating your ad.

Make sure your Primary Text, Headline, and Creative match each other in meaning.


What Makes a Good Facebook Ad Creative

  • Simple message
  • Clear benefit
  • Readable text
  • No long paragraphs
  • One main focus

If your creative is confusing, people skip it.
If your message is clear, people click.

4 simple step guide

How to Track Website Traffic Using Google Analytics 4 (Simple Setup Guide)

If you want to grow your website, you need 4 simple step guide to know who is visiting, where they are coming from, and what they are doing on your site. Google Analytics 4 (GA4) helps you see all of this in one place. The best part? It’s free.

Many people think Google Analytics is difficult. But once you understand the basics, it becomes very simple. So let’s set it up step-by-step.


4 simple step guide

Step 1: Create a Google Analytics Account

  1. Go to analytics.google.com
  2. Sign in with your Gmail account.
  3. Click on Start Measuring
  4. Enter your Account Name (like your website name)
  5. Click Next and create a Property (Property = your website data)

While creating property:

  • Set Reporting Time Zone and Currency
  • Click Next

Now your GA4 property is created.


Step 2: Add Your Website to GA4

  1. After setting up the property, here 4 simple step guide you will see Data Stream.
  2. Click Web (because you are tracking a website).
  3. Enter your Website URL and give a Stream Name like “My Website Analytics”.
  4. Click Create Stream.

You will now see a code called Measurement ID (like G-ABC123XYZ).
Don’t close this page.


Step 3: Install GA4 Code on Your Website

This step depends on what your website is made on:

If you use WordPress:

  • Install plugin Site Kit by Google (free)
  • Open Site Kit → Click Connect Google Analytics
  • Select your GA4 Property → Done

If you use Other Website Builder (like Wix, Shopify, Webflow):

  • Go to the website settings
  • Find Analytics / Tracking / Tag Manager
  • Paste your Measurement ID
  • Save

That’s it. The tracking code is now connected.


Step 4: Test If Tracking Works

Go back to Google Analytics dashboard.

  1. Click on Reports
  2. Select Realtime

Now open 4 simple step guide your website in a new browser tab.

If everything is correct, you will see your visit showing in realtime.
This means tracking is working.

5 tool stacks

5 Tool Stacks I Use for Small Businesses vs Startups vs Local Shops

Every business is different they need this 5 Tool stacks to grow business . A small business trying to build trust, a startup trying to grow 5 Tool Stacks fast, and a local shop trying to get walk-in customers all need different digital tools. One single “tool list for everyone” is just lazy. So here’s how I use tool stacks differently for each type of business.

5 Tool Stacks

For Small Businesses
Small businesses usually want stability. They don’t need every new shiny app. They want something easy to manage and not expensive. For their website, I typically go with WordPress because it’s simple, flexible, and 5 Tool Stacks easy to update without technical skills. For marketing, Google Business Profile helps them show up in search. For email and communication, Gmail + Google Workspace keeps everything clean and professional. When it comes to promoting, Canva works perfectly for creating social media posts without hiring a designer. And for payments, Razorpay or PayPal is enough for smooth transactions. The main 5 Tool Stacks goal here is trust and simple systems that don’t break.

For Startups
Startups are different—they want speed. They don’t have time to wait. They want growth, experiments, and lots of data. So, I use tools that help them test, analyze, and scale fast. Webflow is great for quick landing page changes without coding. Notion is perfect for team organization. Slack keeps communication fast instead of lost in email. HubSpot CRM helps track customers and leads efficiently. And for growth experiments, Meta Ads + Google Ads are like boosters. Here the focus is on quick decisions, fast changes, and collecting insights.5 Tool Stacks If something doesn’t work, we move on quickly.

For Local Shops
Local shops don’t want a fancy website with animations flying everywhere. They want customers walking into their shop right now. So I focus on visibility nearby. Google Maps (Google Business Profile) is the main king here. WhatsApp Business helps handle orders and questions instantly. Canva still helps create simple offers and menu posters. Instagram and Facebook help showcase products and shop updates. And for recording sales, Khata Book or Vyapar app keeps daily accounts hassle-free. The goal is simple: get more local customers who live nearby.

The Difference in Approach
The tools are not “better” or “worse.” They are just right for different situations. Small businesses need simplicity because the owner is doing multiple things.5 Tool Stacks Startups need speed because competition moves fast. Local shops need presence around their location because their customers come from nearby streets. Everyone doesn’t need everything. The trick is choosing wisely, not choosing more.

Conclusion
Choosing tools is not about following trends. It’s about understanding what a business needs and what it can manage. A tool that works brilliantly for one business can be useless for another. So instead of asking, “Which is the best tool?” a better question is, “Which tool fits my business style?” And once you know that, everything becomes easier.